Growing Mums in Pots for Profit

6 STEPS ON HOW TO GROW MUMS
The crisp air is starting to settle here in the Midwest come late August. The mornings have a slight chill and the dew, laying on the grass, has a cool dampness. The corn is tasseled and turning color, the summer flowers in the garden are coming to their final peak, and the evening daylight is nearing shorter by the day. Just around the corner, here in the Midwest, comes our most favorite time of the year. FALL!
Why is it that Fall is our most favorite season out of them all? Not for the pumpkin spice lattes…okay maybe a tad bit… But for the enormous amount of activities that happen! In the months of September-November, you can run into Fall festivals, church picnics, music festivals, harvest season, hunting, bonfires, fishing, wine tastings, river tootles, farmer’s markets, Oktoberfest, Katy Trail bike rides, and the list goes on and on!
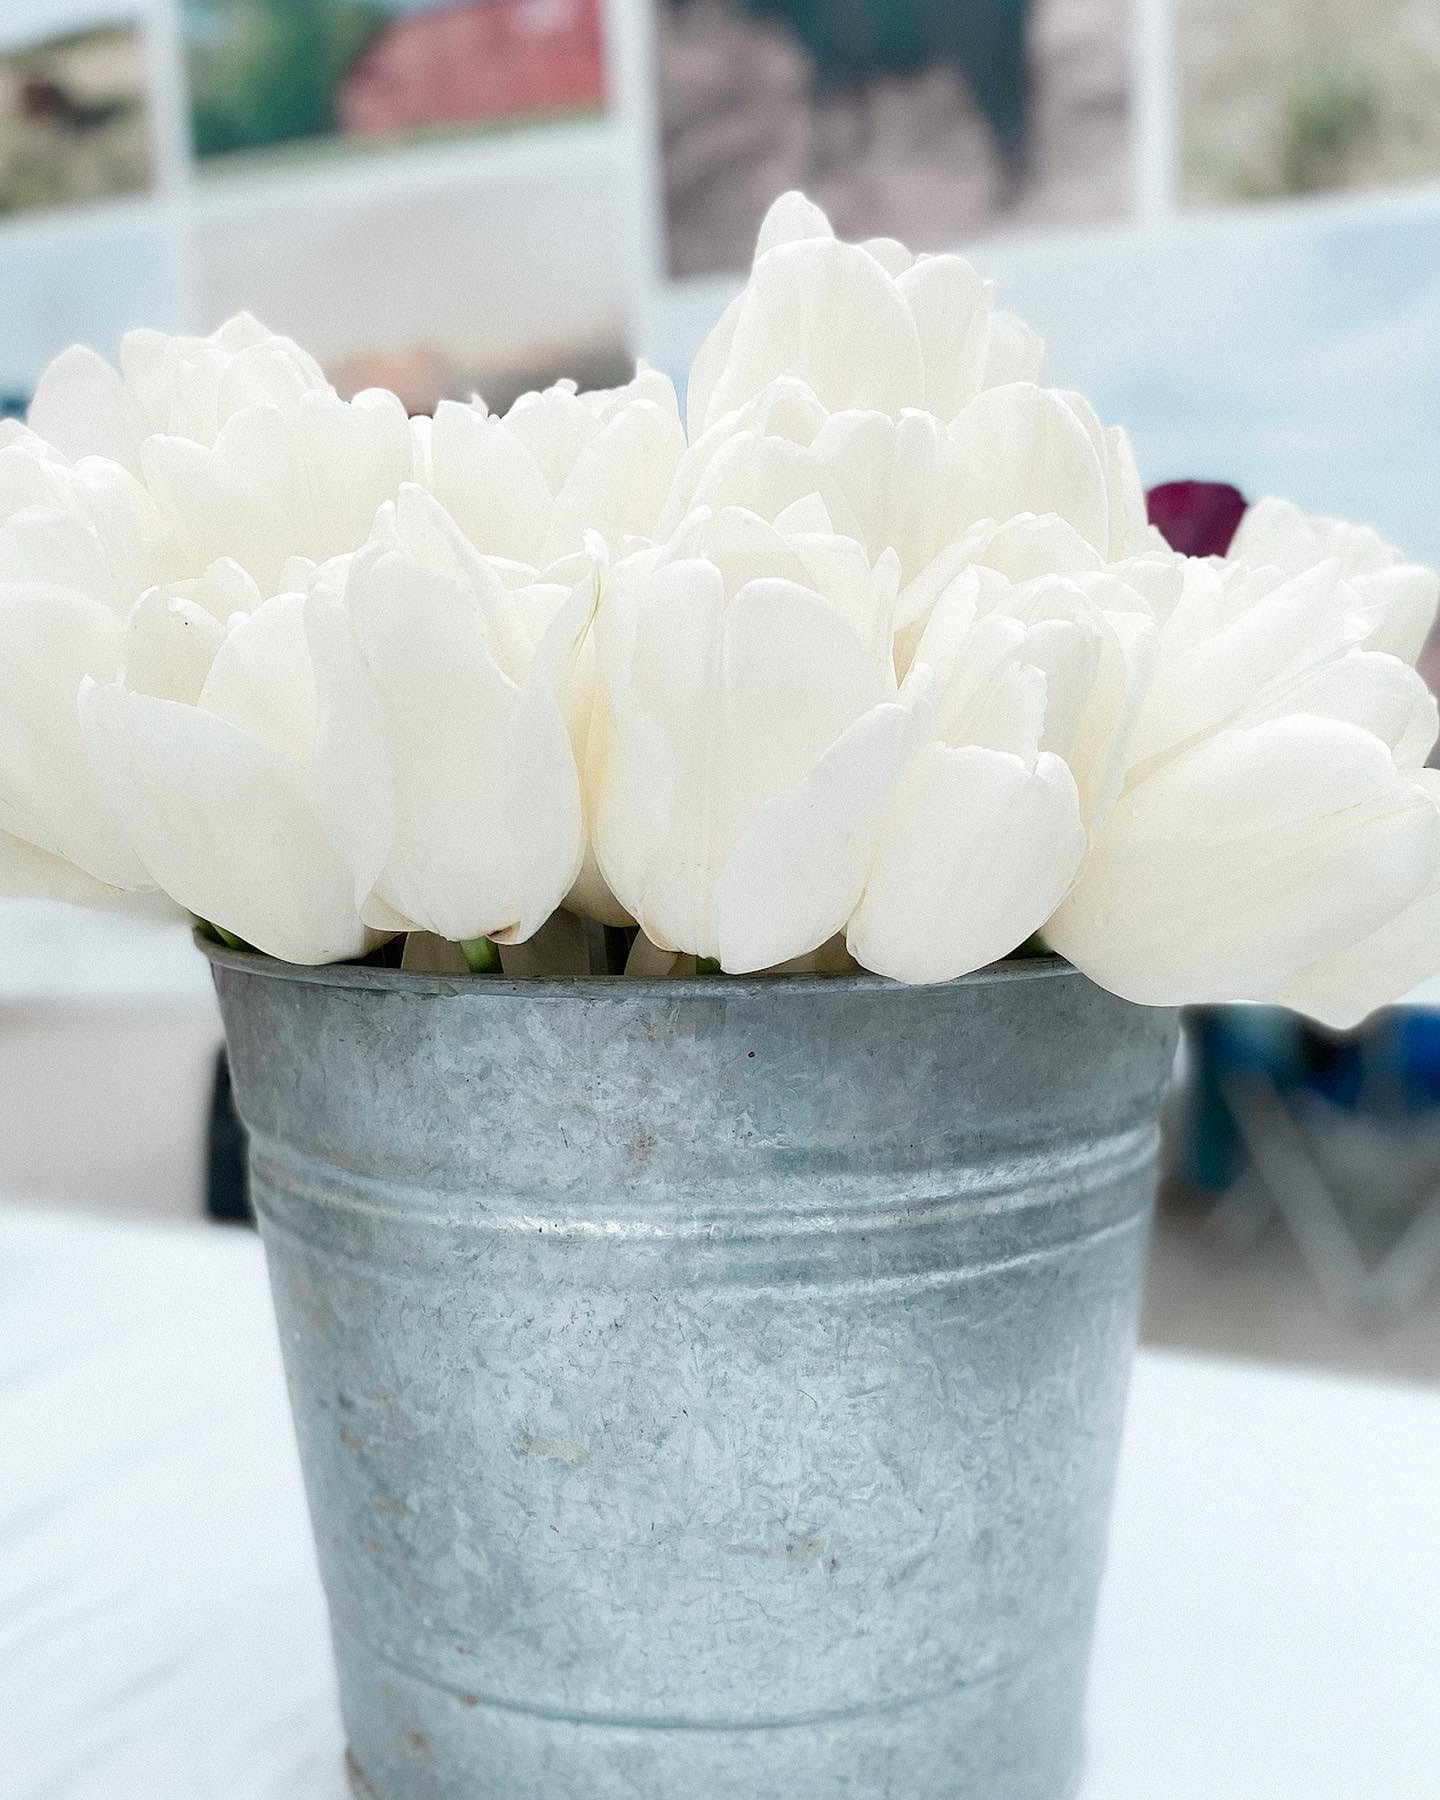
One of my favorite things to do is growing flowers! And the most popular fall flower to date is MUMS! Also known as Chrysanthemum, Mums have a beautiful selection of colors that bring out any fall decor. And they just make you feel all warm and fuzzy inside. The popular trends incorporating mums have blown up on Pinterest. Some examples could be placing mums on porches and wagons, pairing them with pumpkins and cornstalks, or simply incorporating them into your own landscape. How cozy would it be to have a beautiful design of mums on your front porch with your flannel blanket and a pumpkin spice latte in hand enjoying that crisp fall weather? Pretty awesome right!? Here in zone 6a, I am going to give you my step-by-step guide on how to grow your own mums!
Mums are heaving feeders and drinkers. What this means is they need to be given plenty of fertilizer to eat and water to drink. There are many different ways to grow mums. So what should we do first?
Step 1: Design your growing area
- Mums do well in full sun, so pick an area where your plants can benefit.
- Have water easily accessible. Mums need to be watered once to twice a day.
- Have enough room to space your mums at least 2.5-3ft apart so they do not get overcrowded.
Step 2: What type of mums will you need?
- There are many different types mums to choose from with different colors and bloom times. As well as, choosing either a perennial or annual variety.
- When ordering mums, you should think a season ahead. Order mum plugs in Spring so you can have many varieties to choose from. If you wait too long you might miss on some great choices. Mums will need to be grown in the summer time to soak up all that great vitamin D!
- This year, I had gone with an Early October Flowering type called “Aduro Red” and “Antica Bronze” from Westel Greenhouse, LLC in Rockwood TN. I received 50 plugs per tray! So I got a total of 100 plugs! The mailing process was supper easy and they arrived at my doorstep in less than 2 days!
Step 3: What material will you need?
- When growing mums, you are going to need the following: Check out Hummert International for all my materials below
- Mum Plugs (50/pack)
- Growing medium (Promix BX Mycorrhizae general purpose) 60lb bale
- Large Drum or Wheel barrel
- 8” mum pots
- Liquid 20-10-10 or slow-release fertilizer like “osmocote”
- black landscape fabric and stakes
- watering wand
- water hose
Step 4: Prepping for Planting
- Plant mums in the summer to get as much sunlight as possible. They love the heat!
- Coordinate with your greenhouse grower. Mum plugs will need to arrive at least 2 days to the day of when you start to plant. When your mums arrive give them a good watering before planting.
- Have your layout set up. Layout your landscape fabric and stake into the ground. Mums have a better growing rate with a black landscape fabric. This also prevents weeds from getting into your mum pots.
- Once your mums arrive, line up your pots like an assembly line. Find a big drum to put your growing medium in. Give your soil a good soak of water too. Don’t make it soupy, bout enough to settle the dust.
- Now for the fun part! Start planting by filling your 8” mum pots up. Make a dibbit with your thumb creating a spot for your mum plug to sit in (I planted one mum plug per pot, but you can definitely use 1-3 plugs per pot). Cover the mum plug up with soil to the bottom of the first leaves. Lightly press firm and set down on your landscape fabric. Make sure you set your pots 2.5-3’ apart. Most landscape fabric have lines on them for an easy reference.
- Apply water using a watering wand. Avoid getting the leaves wet.
Step 5: Fertilizing & Watering
- Mums are heavy feeders and the first 3 weeks are a crucial time for them to feed. Apply a slow release fertilizer when mum plugs are established (about one week from planting). Make sure to water evenly to activate the fertilizer.
- Water mums twice a day. One time in the morning and second time in the mid afternoon. Be careful to keep an eye on your soil moisture. If the soil is too wet hold off watering a second time. If the soil is becoming too dry make sure to have that second watering. NEVER let your mums dry out completely.
- Apply more fertilizer every 3-4 weeks. Continue fertilizer until flower phase.
Step 6: Our Final Product
- Depending on your bloom times, mums should be ready to flower in 15 weeks from your plant date.
Growing your own mums can be a great way to sell as a wholesale product, a way to enjoy your own efforts in growing mums, or a great gift to give to others during the seasonal months ahead. Whichever way you choose to do with them, I hope you enjoy the beauty of fall around you and the people you spend time with.
This is an example of a comment made on a post. You can either edit the comment, delete the comment or reply to the comment. Use this as a place to respond to the post or to share what you are thinking.
This is an example of a nested threaded comment which is new in WordPress 2.7. This is where you can reply to a comment that was previously made, and visually makes reading comments to much easier.
This is an example of a nested threaded comment which is new in WordPress 2.7. This is where you can reply to a comment that was previously made, and visually makes reading comments to much easier.
This is an example of a comment made on a post. You can either edit the comment, delete the comment or reply to the comment. Use this as a place to respond to the post or to share what you are thinking.